First Launch
When you start AiderDesk for the first time, an onboarding wizard walks you through the essential setup. You can re-run it later by resetting the onboarding flag in your settings.
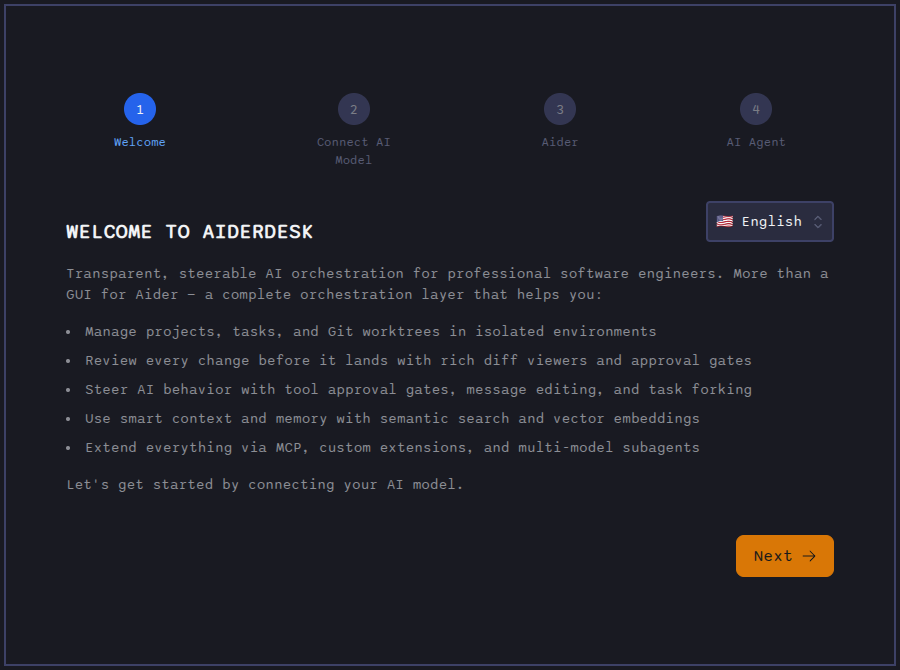
Onboarding Wizard
Step 1: Welcome
The welcome screen introduces AiderDesk's key capabilities and lets you pick your interface language from the selector in the top-right corner (applied immediately).
Step 2: Connect Model
Choose an AI provider (OpenAI, Anthropic, Gemini, OpenRouter, …) and enter your API key. The connection is verified right away.
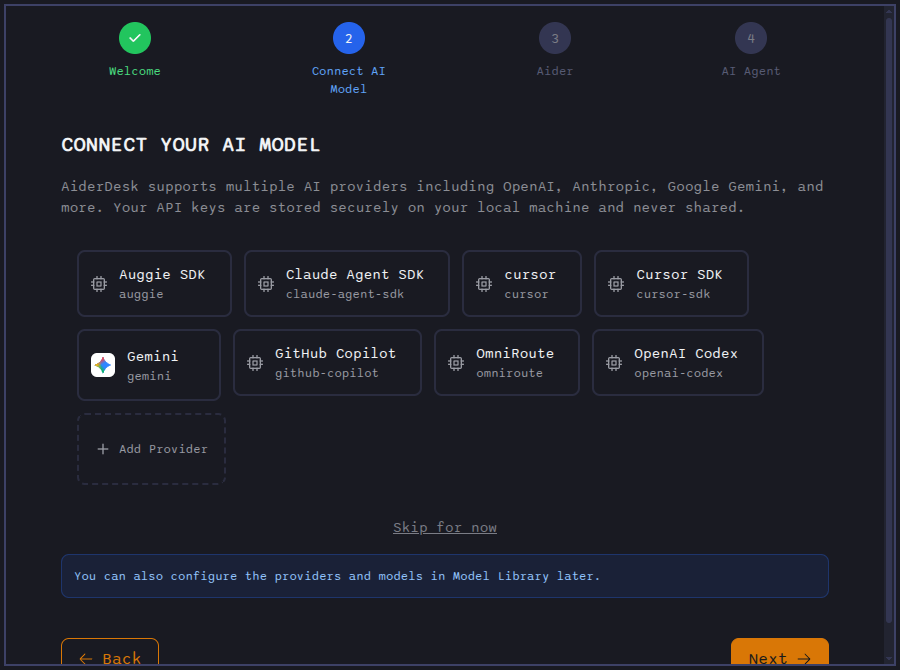
Not ready to pick a provider? Use Skip for now — you can configure providers any time in the Model Library or Providers Configuration.
Step 3: Aider Settings
Fine-tune how aider works: default edit formats, auto-commits, environment variables, and other options. Everything here can be changed later in Aider Configuration.
Step 4: Agent
A short introduction to Agent Mode — autonomous planning, tool use, and extensibility via MCP. The final Configure Agent screen lets you review your agent profiles (or skip straight to finishing).
Clicking Finish saves everything, marks onboarding as complete, and opens the main workspace.
What Happens in the Background
AiderDesk does not block you with a long installation phase on startup. The Python environment required by the aider integration is prepared lazily in the background, only when it is actually needed:
- When you send your first message that requires the Python connector, AiderDesk checks for a working
uvinstallation (using your system'suvif present, otherwise downloading its own copy). - It creates the virtual environment and installs the required packages.
- The aider process starts once the setup finishes — subsequent launches reuse everything already installed.
You can watch the progress (checking dependencies → downloading → creating environment → installing packages) in the app while this one-time setup runs. If it fails, a clear error is shown with a retry option.
Configuration files live in ~/.aider-desk.
The Interface at a Glance
- Left sidebar — projects, tasks, context files, and updated files
- Center — chat interface with prompt field and diff viewer
- Top bar — model library, settings, usage dashboard, and project tabs
Next Steps
- Follow the Quick Start to send your first prompt
- Read about Managing Projects