Quick Start
This guide takes you from an empty workspace to your first accepted code change.
1. Open Your First Project
- If no projects are open, click Open Project
- Otherwise click the
+button in the tab bar - Select your project directory — AiderDesk indexes it automatically
2. Pick a Model
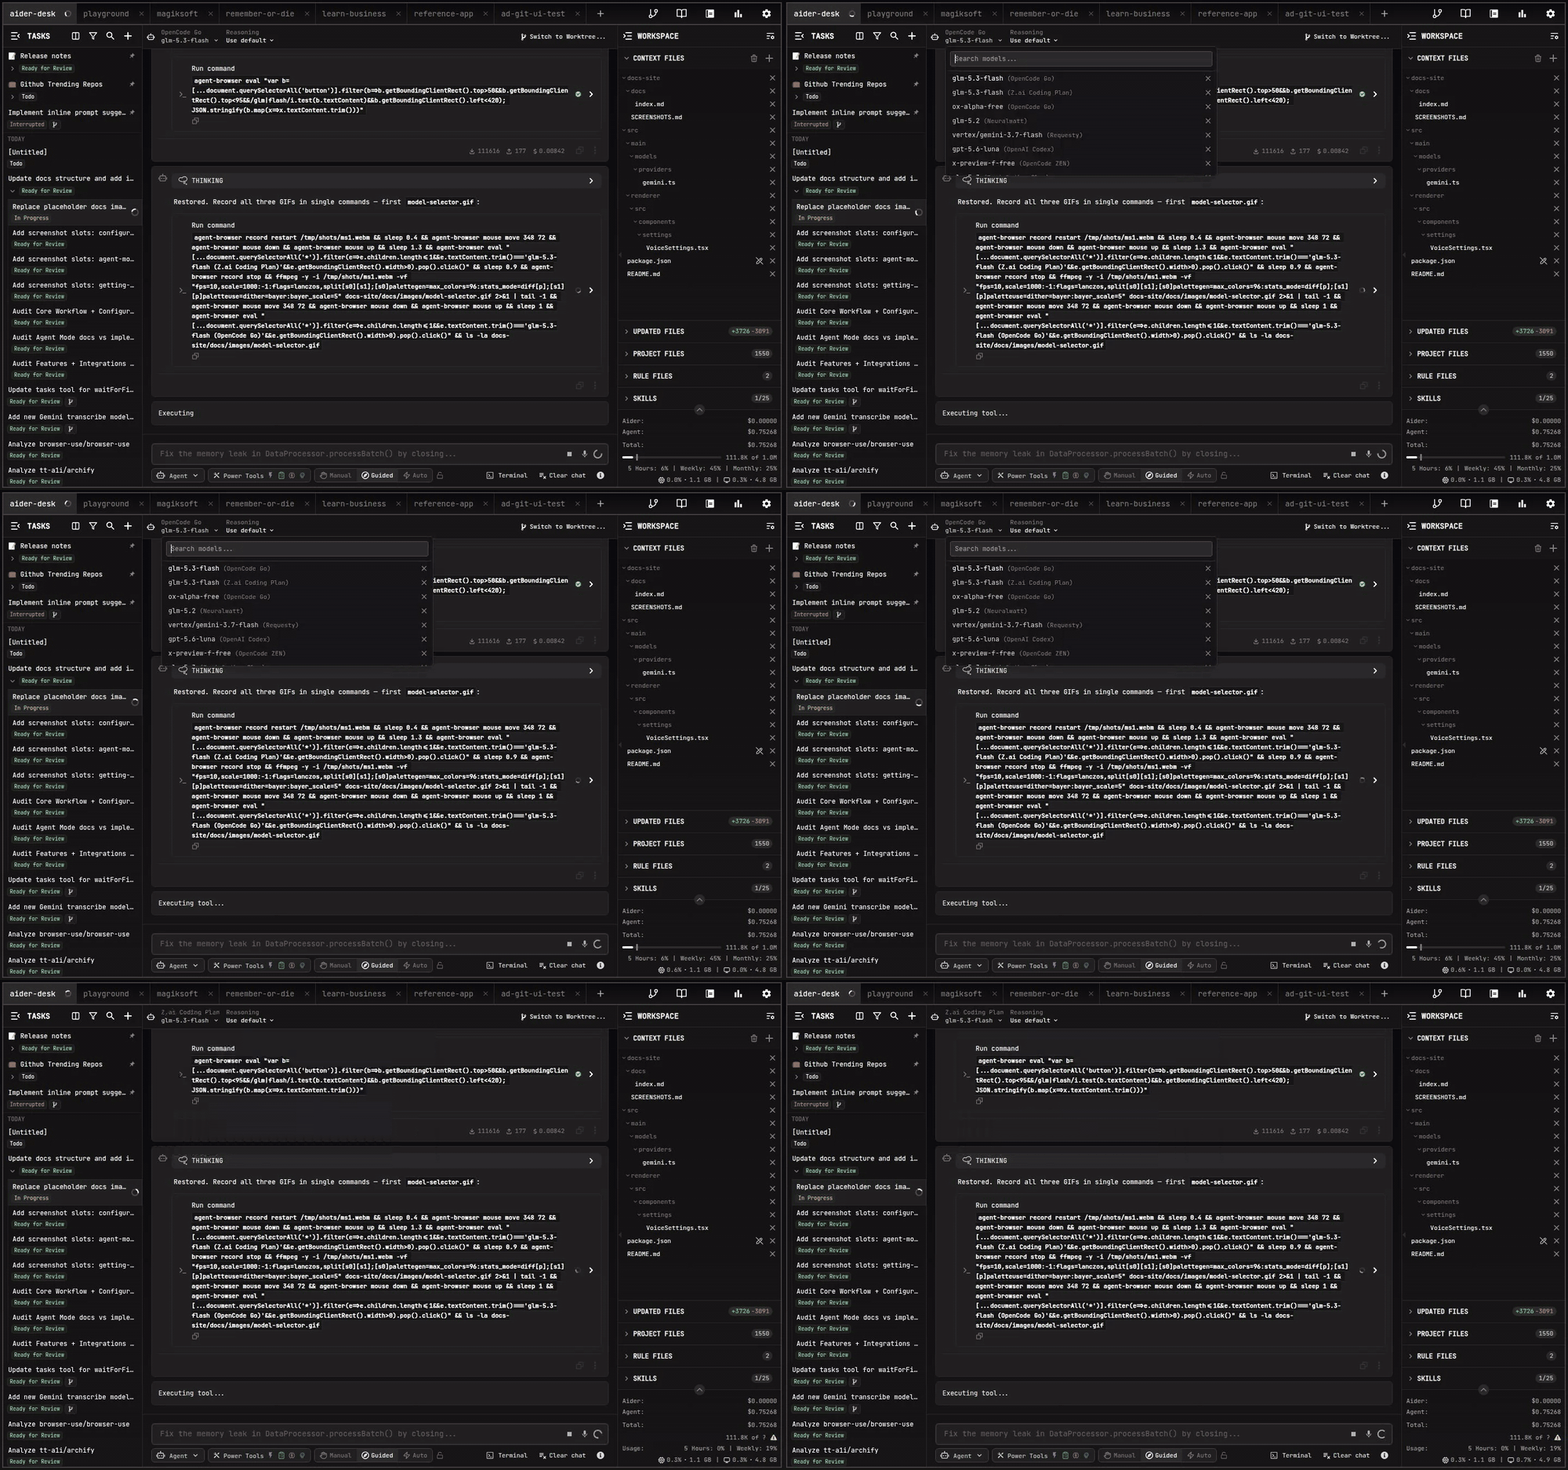
Open the Model Selector in the prompt field area and choose the model for this task. You can change it at any time, even mid-conversation.
3. Send Your First Prompt
Type what you want in the prompt field, for example:
- "Add error handling to the main() function"
- "Explain how this authentication module works"
- "Refactor this component to TypeScript"
By default, each task runs in Agent Mode: the AI plans the work, uses tools, and shows you exactly what it is doing. Press Enter or click Send.
4. Review the Changes
Proposed edits appear as diffs in the chat — inspect them line by line, then accept or reject:

Use the checkmark to accept changes (saved to disk) or the X to reject them. See Reviewing Changes for diff modes and approval gates.
5. Iterate
Keep refining in the same task, or use /handoff to spin the next step off into a fresh, focused task.
Tips
- Add relevant files via the context panel, or let the IDE connector sync them automatically
- Check the Built-in Commands —
/compact,/commit,/testand more are one keystroke away