How to Use Agent Mode
This guide will walk you through setting up and using Agent Mode, from switching to Agent Mode to configuring your model provider and selecting the right model for your task.
Switching to Agent Mode
Before you can use Agent Mode, you need to switch to it from the regular chat mode. You can do this in two ways:
1. Using the Mode Selector
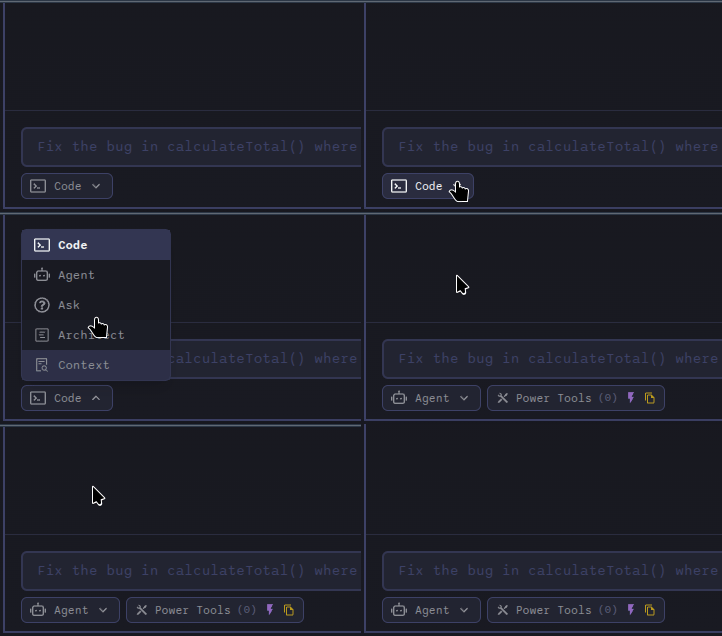
Click on the mode selector located below the prompt field and choose "Agent" from the available options.

2. Using the Command
Type /agent in the prompt field and press Enter. Any text following the command will be used as the initial prompt for the agent.
Once in Agent Mode, you're ready to configure your model provider and select a model.
Configuring a Model Provider
Before you can use Agent Mode, you need to configure at least one Language Model (LLM) provider.
Basic Provider Setup
- Click the Model Library icon in the top bar
- Click "Add Provider" to configure a new provider
- Select a provider from the list (e.g., OpenAI, Anthropic, Azure)
- Enter your API key and any other required information for that provider
- Click "Save" to create the provider profile
Advanced Configuration with Model Library
The Model Library provides comprehensive provider management capabilities:
- Multiple Profiles: Create multiple profiles for the same provider (e.g., work and personal OpenAI accounts)
- Custom Models: Add models that aren't automatically discovered (especially for Azure OpenAI)
- Cost Configuration: Set custom pricing and token limits for accurate cost tracking
- Model Organization: Hide irrelevant models and organize by provider profiles
See Model Library for comprehensive provider management, including:
- Setting up multiple OpenAI-compatible providers with different prefixes
- Adding Azure OpenAI custom models
- Configuring costs and token limits
- Managing model visibility
Selecting a Model in Model selector
1. Choose from the List
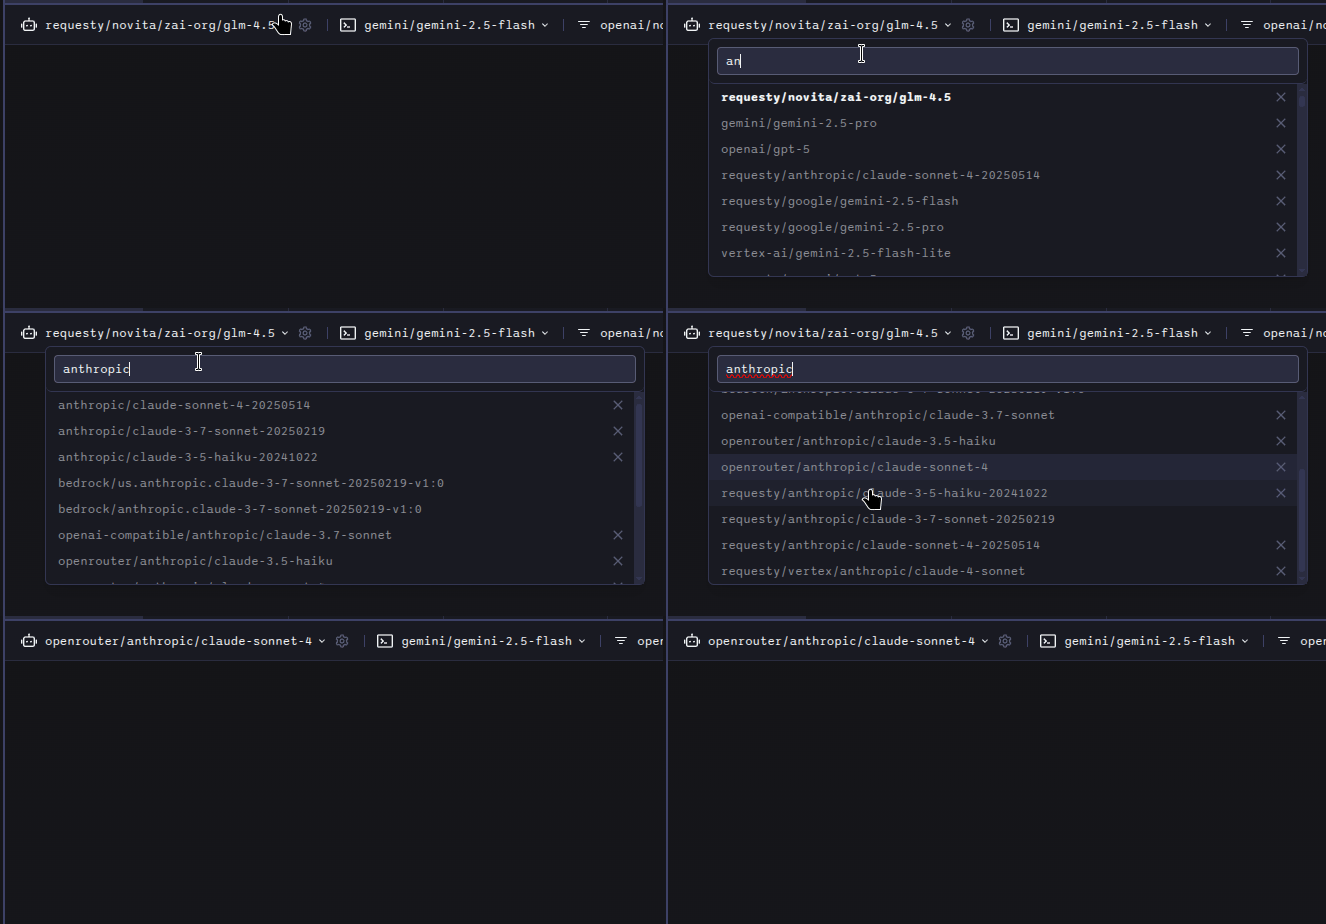
For some providers, AiderDesk will show a list of common models in a dropdown menu. Simply click the dropdown and select the model you want to use.

2. Enter a Custom Model
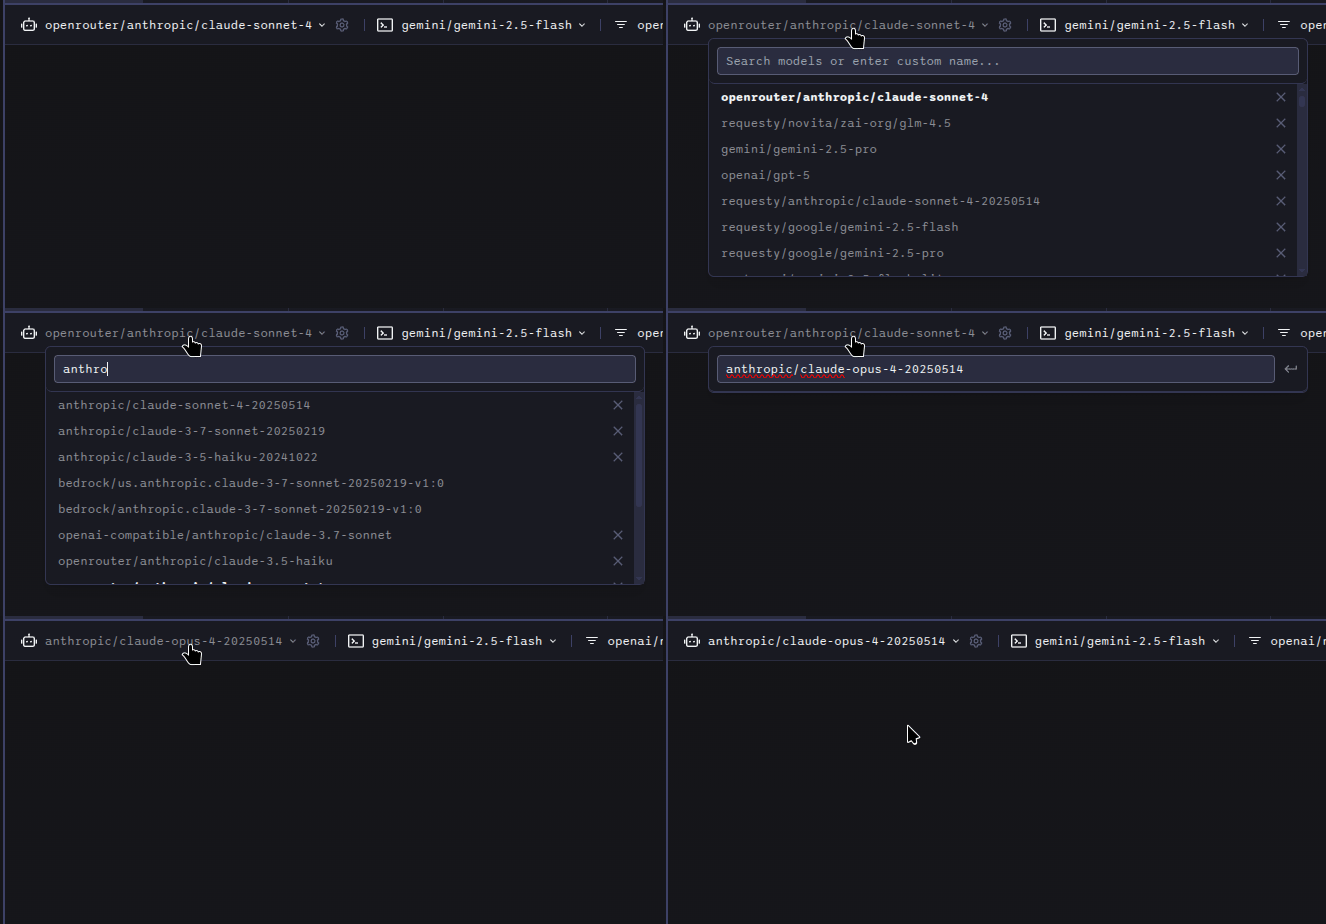
If the model you want to use isn't in the list, you can enter it manually. This is common for providers like OpenAI-Compatible, OpenRouter, or when you have access to a new or private model.
To do this:
- Click on the model selector.
- Type the full model name, including the provider prefix (e.g.,
anthropic/claude-opus-4-20250514). - Press Enter to confirm your selection.

The model you choose will now be set for the current agent profile and it will be added to the top of the selector list for future use.
For advanced model management, including multiple profiles per provider and custom model configuration, see the Model Library.